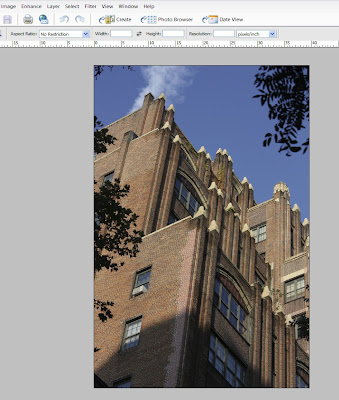
 Why is it that when I take a picture of a tall building, it often looks distorted? Gee, those walls sure looked perpendicular to the ground and parallel to each other when I was standing there! But in the image I come home with, the walls are at all sorts of angles, and the building looks like it's falling over backwards.
Take, for example, the photo here of 160 W. 73rd Street, a lovely Art Deco co-op typical of many of the elegant older apartment buildings on the Upper West Side of Manhattan.
I framed the image carefully in my viewfinder, trying to line up the setback on the right edge so that it looked veritcal. Here's what the image looked like right out of my camear in Photoshop Elements 4. Notice how the left side of the building "leans" like a rickety shore shack, rather than the quite solid limestone-and-brick edifice it really is.
So why does this happen? I'll tell you why. When you point the camera straight at a building, the film plane (or for a digital camera, the plane of the sensor) is parallel to the building. This is great, because parallel lines in the building will come out parallel in the photo, and there will be no distortion.
The problem is, if I did that with my photo of 160 W 73rd Street, I would have gotten a lovely picture of the lobby and the awning. Not quite what I wanted. So of course, I tilted my camera upward to include the top of the building.
But now, the film/sensor plane is no longer parallel to the building, and I get perspective projection distortion. How do I correct this? In the realm of 35mm and DSLRs, there are special, usually expensive perspective control lenses that allow you to tilt and shift the lens relative to the film/sensor plane. Here's a good, well-illustrated article by Ken Rockwell that explains this very well.
View cameras (the kind where the photographer focuses on a screen under a dark cloth) usually have camera movements to control perspective distortion and other problems. But we can accomplish our goal of un-distorting our tall buildings using some simple tricks in even the older versions of Photoshop and Photoshop Elements.
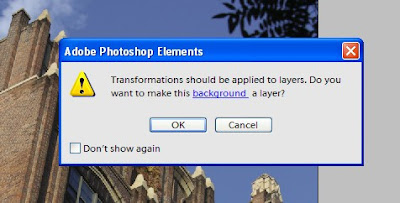 Start with the Image menu, and select Transformation, and then Skew. You'll see a dialog like this one. Just click the OK button.
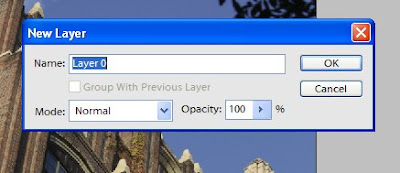 This will bring up the New Layer dialog. While it's good practice to name layers with a meaningful name, we'll be throwing this layer away soon anyway, so just click the OK button and continue to the next step. (Layers are a subject for a whole other post, or really several posts.)
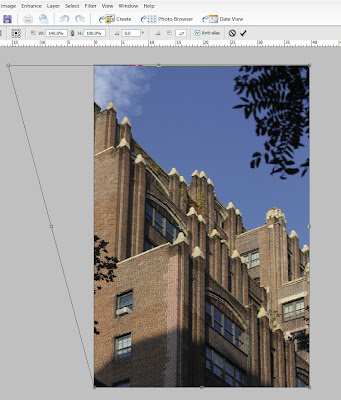 At this point, you'll see a thin box around the entire image. The box also has tiny circles at each of the corners and at the midpoint along each side. You can grab the box at any one of the circles (think of them as "handles") and tug or push your image.
You can see here how I tugged the top left corner of my photo to "un-tilt" the building. I used my calibrated eyeballs to tell me just how much to tug.
There will be times when you'll take a photo of a tall building straight-on, but still tilted up. In that case, both sides of the building may appear to fall away. So can you do this same maneuver with the other side? Sure! As I said, you can push or pull any of the "handles" until your photo looks right to you.
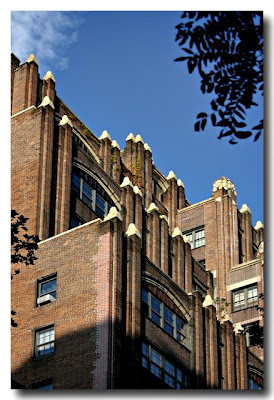 Here is the final photo, after I gave it my 30-second Photoshop 80-20 Rule treatment to color-correct and contrast-sharpen the image.
 By the way, in the latest versions of Photoshop, there are other, sometimes easier or better ways to do perspective distortion correction. But if you're like me, you just don't have the big bucks to buy Photoshop CS3. That's why I'm showing these techniques that you can do even with just an old copy of Photoshop Elements 2 (if you search carefully online, you should be able to by a perfectly good, perfectly legal OEM copy of PSE 2 for about twenty bucks.)
No comments:
Post a Comment